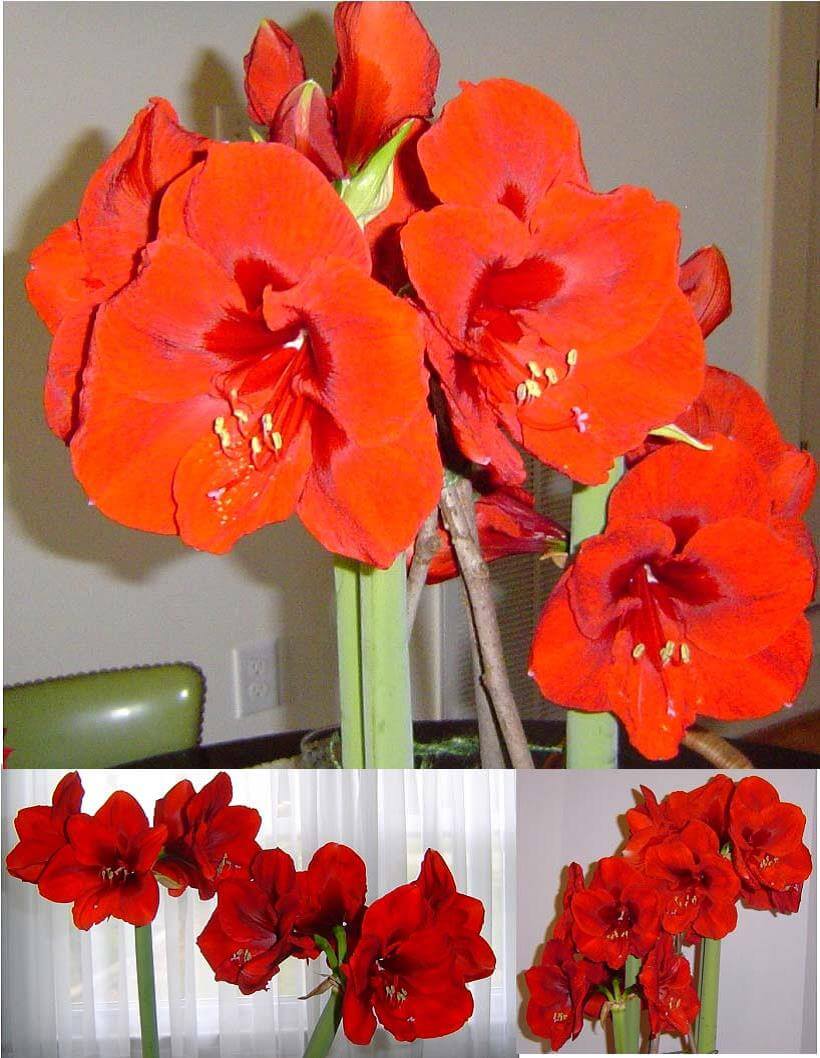
Amaryllis Make Fabulous Cut Flowers too!
 Experience the beauty and ease of growing our grower size Amaryllis bulbs. Our jumbo size bulbs produce more stems, more flowers and larger flowers then younger smaller bulbs.
Larger bulbs also make saving the bulbs from year-to-year easy and rewarding. Each year the show just gets better. Amaryllis bulbs are a great “pass it on” tradition to start.
I met a lady a Flower and Garden Show recently that has the Amaryllis bulb that her Mother grew for years and it was passed on to her when her Mother passed away. She continues to care for it as her Mother did and it blooms every year.
Amaryllis also makes excellent fresh cut flowers. They last just as long, if not longer cut from the bulb as left on the bulb.
To use as fresh cuts, grow as usual, cut the stem just above the bulb when the bud is colored but just starting to open. Treat as a cut flower, placing in clean water with fresh flower food for a beautiful display.
Harvest flower stems as they develop leaving the leaves on the bulb—as these are the food making the flowers for next year! Follow the regular instructions included with the bulb for summer care.
Growing Tips
- Before planting the bulb, place in a saucer and cover the roots with 1/2” of lukewarm water for a couple of hours, this encourages root formation.
- I prefer the soil planting method over growing in pebbles and water for Amaryllis. Select a container that has a drainage hole. Fill the container with potting soil and place the bulb on top. Add just enough potting soil so that at least 1/2 of the bulb is exposed above the soil surface. No fertilizer is needed. Allow to dry-out between watering. As the bulb puts on growth you will notice an increase in watering requirements.
- Provide support for your bulbs before you need it! Using 3-4 twigs from your yard, diameter the size of your little finger, about 18′ tall. Create a natural looking grow through support for your bulbs. I push the twigs down into the soil either into each corner of the container or use 3 twigs to create a tri-pod. I tie the twigs together at the top with raffia. The foliage grows up through the support, virtually hiding it and you can tie a wide beautiful ribbon around the waist of the plant for added support if needed. Planting 3 Amaryllis bulbs together in a container puts on a show you will never forget.
- Place in a cool bright spot, removing faded flowers promptly will increase the life of the remaining flowers.
- After flowering, cut off the faded flowers and let leaves continue to grow and develop. To encourage this provide regular water.
- In May place your pot in a sheltered shady spot in your garden. In September, refrain from watering. In October, remove pot and all from garden, trim foliage and place in a dry cool but frost free location. In January, remove old roots and repot in fresh soil. You will enjoy flowers again indoors come late winter. Amaryllis bulbs are easy to grow and even more fun to save from year to year! Give them a try!
Click here for a printable version of Amaryllis Make Fabulous Cut Flowers too!
Happy Growing!
– Lisa
Lisa Mason Ziegler, founder of The Gardener’s Workshop and Flower Farming School Online. Award-winning Author of Vegetables Love Flowers, and Cool Flowers. Watch Lisa’s Story and view her blog Field & Garden. Connect with Lisa on Facebook and Instagram!
