I have never been sorry I made a raised bed. And on the other hand, I have been very sorry for not making them. This last week of cold rain has confirmed again I am glad I did it.
A few benefits of raised beds;
- The additional height provides deeper loose soil for roots to roam more freely in and to grow into healthier plants.
- The soil warms earlier in raised beds.
- And drum roll please…. when it rains a monsoon your plants roots have a far better chances of surviving. Being raised allows the wind to dry the soil faster and the plants roots aren’t as submerged in wet soil literally drowning.

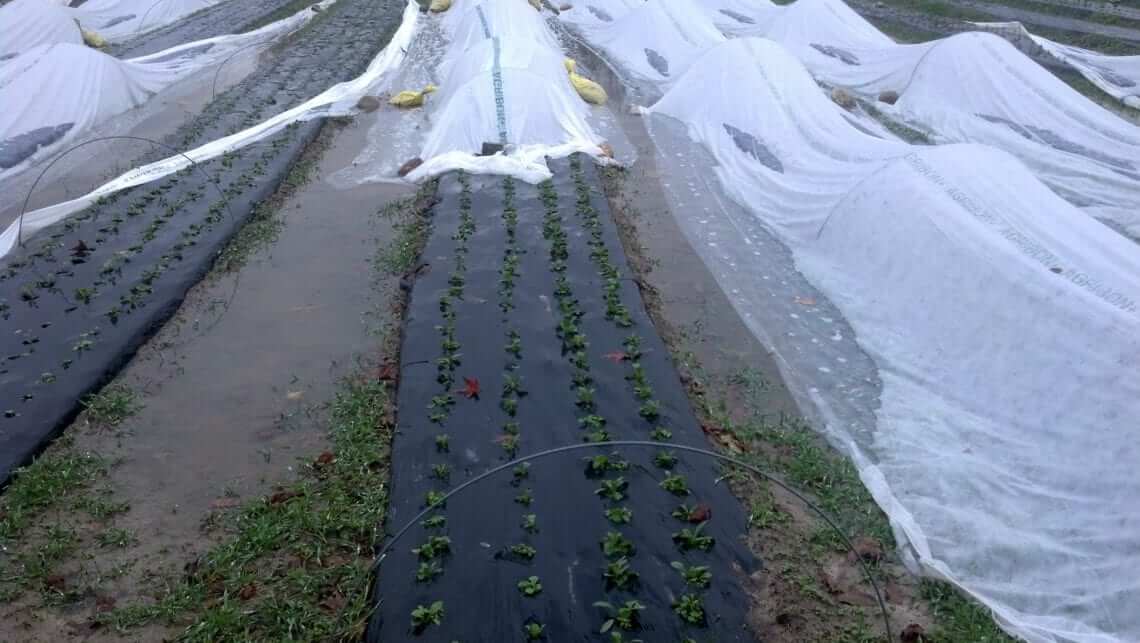
The garden above after days of wind and rain and cold temperatures. Water hangs around longer in winter for the lack of heat.
In early spring many years ago when I was a newbie to gardening, I thought; raised beds cannot make that much difference, right? So I forged ahead and planted flat beds. I learned in late May of that year with an abundance of spring showers why I should have spent a couple days shoveling my way to raised beds. The constant spring rains never allowed my plants to come up for air or to dry out a bit before the next soaking. Some plants will tolerate these conditions but few will thrive under them.
There are several ways to make a raised bed. We of course use a tractor nowadays to make the 140 beds, 100 feet long here on the farm, but I will tell you hand making beds is a far better bed and better for the garden soil structure and creatures. Another note is we soil test every garden on our farm (7) every fall to see what organic nutrients may be needed in addition to organic general purpose fertilizer. Skipping a soil testing is like gardening in the dark—come into the light and soil test annually! We like Waypoint Analytical for soil testing; they offer organic solutions for soil issues.
Depending on the situation you want to raise, here are a few tips to get a bed going;
- A new freestanding bed is perhaps the easiest. We prefer a bed no wider than 30-36” so we can reach the center from either side without stepping in the bed. Eliminate the vegetation (we use an organic herbicide called Burnout, check with your local garden center), use a border fork to pierce the soil deeply and then rock the fork back and forth before removing to make cracks and open the soil. Spread a couple of inches of compost over the bed. Cover the entire bed with several layers of wet newspaper to suppress any weed seeds and top with a mixture of 2/3 soil (if purchasing I would get an organic potting or garden mix), and 1/3 compost. Add organic fertilizer according to instructions and any other nutrients according to soil test results, mix. Bed height is a personally choice, 6-8” is excellent. The sides of your bed can stand alone or you can make a border from rocks or a composite board product, no pressure treated wood. Each spring use the fork to make holes and cracks, then spread 1” of compost on bed, organic fertilizer according to instructions and top with mulch.
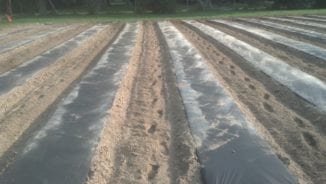
Photo above of newly made garden beds with tractor and special implement. The surface was flat and tractor gathered the soil from pathways, formed a bed, and laid bio-degradable film all in on pass. We did this by hand for years.
- Row garden for vegetables and flowers. Starting with a flat surface free of vegetation, use a round point shovel to shovel soil from the pathway you are standing in on top of what will be your bed. We prefer 30-36” wide beds so we can reach the center from either side without stepping in the bed. You don’t need to go really deep when shoveling, just a couple of inches (this little chore builds buns of steel girls!) After doing the pathways on either side of the bed, top the bed off with 2-4” of compost, add organic fertilizer according to directions and any other nutrients according to soil test results. Making this bed permanent is beneficial to soil structure and lowers the need for future shoveling chores. Mulch the pathways with leaves, not necessary to shred because you will be stopping on them all season. We put down about 10 inches of leaves because they quickly compact. Top off pathways as needed with leaves and at every crop change add 2-4’ of compost and organic fertilizer to top of bed. Within a couple of years your bed will be so rich and healthy and your pathways weeds will be smothered.
- If you have a mixed border with existing shrubs and perennials –no deal unless you dig them up to replant.
Following this regiment will lead to a self-sustaining garden in just a couple of years. You will water less, your plants will grow more robustly, and pests and disease issues from an unhealthy environment will become non-existing!
Garden on!
Lisa Z

 TheGardenersWorkshop.com