SEED STARTING: What Seeds Need
“Why didn’t my seeds germinate?”
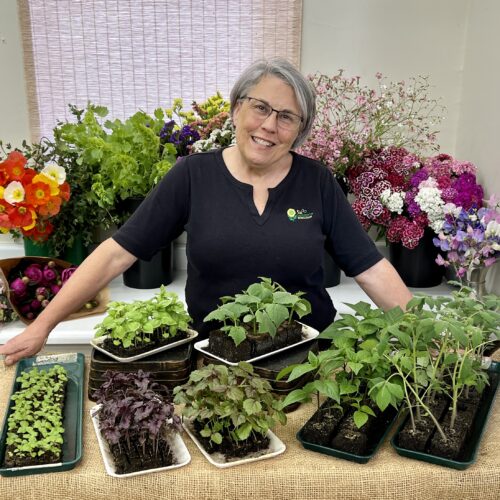
When Lisa answers this question, she uses three words repeatedly.
They are: Heat. Light. Moisture.
For me, learning how to put heat, light, and moisture together to grow healthy plants from seed was frustrating and filled with lots of failures. I knew people used heat mats. You watered your seedlings. At some point, they needed to go under lights. It all felt chaotic and random to me as to why and when all these things needed to happen. My seed starting results were at best hit or miss and I didn’t know why.
Then in 2020, TGW’s Seed manager, Rhonda Graves, wrote a blog post about storing seeds. In that post, Rhonda quotes Dr. Carol Baskin of The University of Kentucky, who says, “A seed is a baby plant, in a box with its lunch”. In the post, Rhonda also writes: Seeds have everything they need to get started, just waiting for the right amount of moisture, light, and warmth to break their dormancy. This was the lightbulb moment I needed to begin to understand what Lisa is talking about when she says seeds need heat, light, and moisture.
Let’s begin with heat and light. They’re both sources of energy. While seeds need both to grow into a healthy transplant, heat and light are needed at different stages in the seed-starting process. In the beginning stages of seed starting you need a heat source more than a light source for energy. All seeds need a specific soil temperature range to germinate, which protects the plant from less than ideal growing conditions. Any time soil temperature is outside that range, seeds remain dormant. To start your seeds, you need to heat the soil to the temperature that tells that seed it’s time to break dormancy and sprout. This is why TGW sells heat mats: the air temperature of your room is not enough to heat the soil, nor does it provide the steady temperature range needed until seeds germinate.
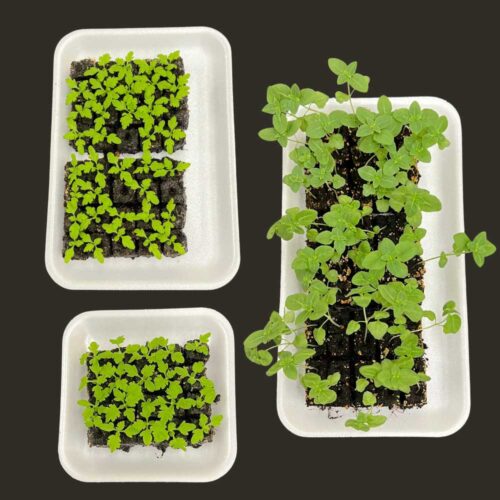
Once your seeds have germinated and sprouted their first leaves, photosynthesis can begin. A quick refresher on photosynthesis: this is where plants use light, water, and carbon dioxide to create oxygen and energy to grow into a plant. How do plants do this? Through their stems and leaves! That’s where energy from light is now needed by your seedlings. This is where grow lights come in: once seedlings germinate, they need 16 hours of light a day to photosynthesize and grow into a healthy transplant. Light from a window or regular room source is not enough in terms of strength or duration for your sprouted seeds. Once 50% of your seeds have sprouted, Lisa says it’s time to move your seedlings off the heat mat and under grow lights.
Quick note: there’s a lot of confusion around the instructions sometimes found on seed packs, “needs light to germinate”. Seeds that need light to germinate are usually the tiniest of seeds that have to be sown on the surface. They can’t be planted too deeply or they will use up all their stored energy before they can reach the surface to sprout. Most of the time these tiny seeds just need ambient light for sprouting but still need the heat from a heat mat to warm the soil to the proper temperature to germinate.
Now let’s talk about moisture. Learning the proper moisture levels needed from the seed to the transplant stage is the hardest skill I’ve had to master when it comes to seed starting. Think of your soil like a sponge that is holding the right amount of water it needs – it’s not dripping wet nor is it bone dry. The key is steady soil moisture throughout the entire seed-starting process. Too little water and your seeds don’t have the moisture levels to start the chemical process of sprouting. While many people use humidity domes to retain steady moisture, Lisa recommends using wide-weave burlap instead to cover newly planted seeds. Burlap helps seeds retain moisture while allowing for air circulation, which augments proper, steady watering.
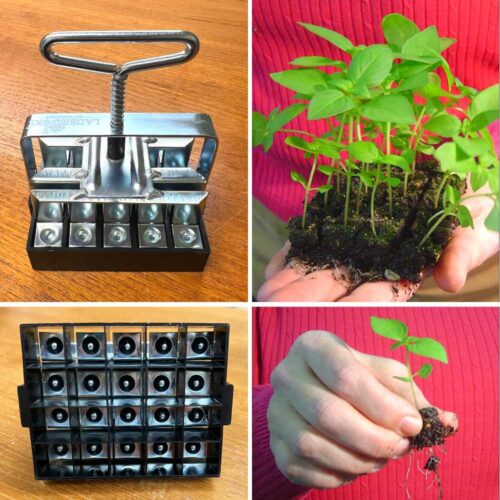
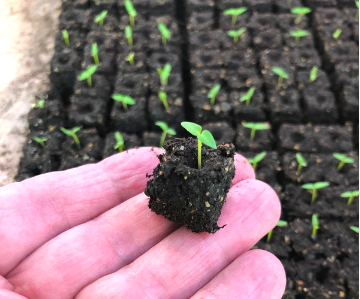
Once seeds have sprouted, Lisa says your soil blocks need to dry out between waterings to maintain the proper moisture level. Too much water and your seedlings drown because their roots can’t get the oxygen also needed to grow. Too little water and seedlings will quickly wilt and perish.
Lisa has made it TGW’s mission to provide the knowledge needed and make available the tools for every home gardener and flower farmer to build the skills needed to successfully start plants from seed. Every seed sold on TGW’s website has vital information you need for starting that seed. Lisa’s course, Seed Starting Made Easy, takes you through the steps of the seed-starting process to grow cut flowers from seed. In her book Cool Flowers, she covers seed starting for Cool Season Hardy Annuals. With her other book, Vegetables Love Flowers, she dives even deeper into seed starting and succession planting both cool flowers and warm season tender annuals.
While knowledge of heat, light, and moisture will make you successful at seed starting, these plants need your commitment to taking care of them from seed to bloom. Build a system to do this. I set reminders on my phone to check on my plants. I made a written checklist to monitor soil temperatures with a thermometer and set up simple room thermometers to measure temperature and humidity, which I check throughout the day. I also fertilize seedlings once a week when they grow their first set of true leaves.
Once I committed to learning the seed-starting process and to taking care of my plants, I had success. I’m living proof that anyone can master seed starting. Don’t give up! Success is just around the corner. The joy you feel when you finally grow that first plant from seed is worth it all.
About The Author: Anne Gettys Morgan is our Customer Service Coordinator at The Gardener’s Workshop and the head grower at Franklin Flower Farm in Macon County, NC. Anne can be reached at [email protected].


