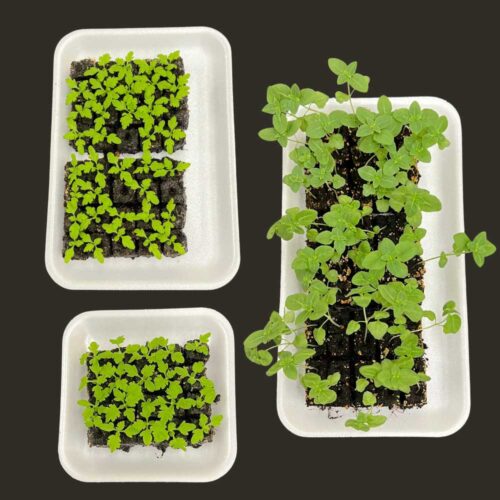
Indoor Flower Seed Starting Easy Guide: Start to Finish in 10 Steps
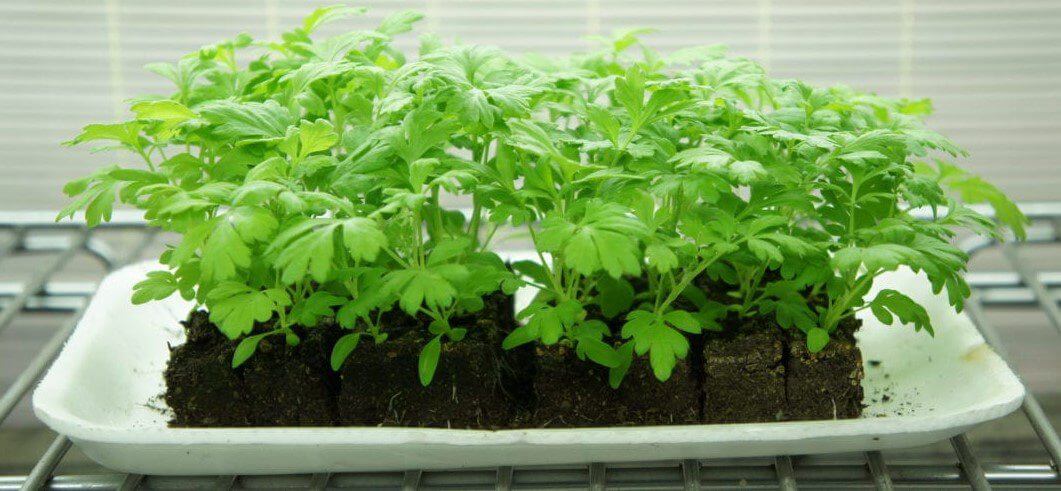
I built my flower farm on the concept of starting seeds in soil blocks. This is a traditional European method of starting lots of seeds in a tiny space. It’s beneficial to both farmers and home gardeners, for both the space savings and for how easy it is! Plus, seedlings grown in soil blocks can be planted out sooner than other growing methods, they’re healthier, and they adapt better to transplanting!
Want to give it a try? Here’s my easy 10-step guide:
#1: Acquire the Tools
Make sure you have all the tools you’ll need, including:
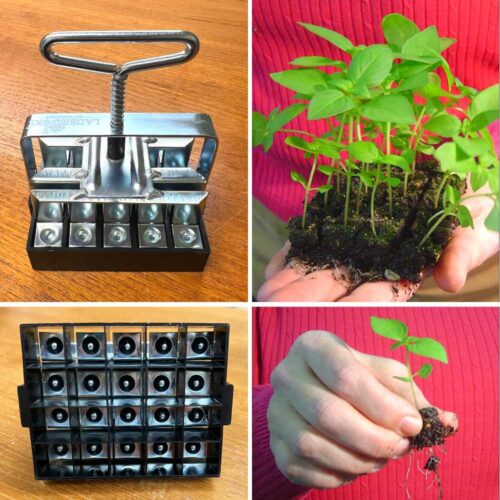
- Soil blocker tool (we mainly use the ¾” size that makes 20 blocks)
- Bin to mix soil & make blocks in (a concrete mixing bin or other large bin)
- Flat-bottomed trays with no ridges or drain holes in them, assorted sizes
- Seedling Heat Mat
- Grow Light adjustable to height of seedlings
- Timer for Grow Light
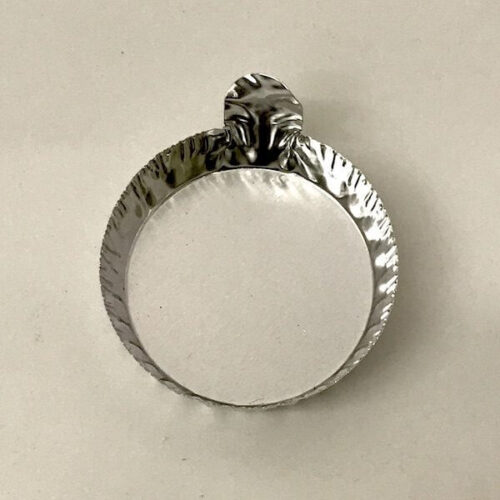
- Optional: Aluminum Seed Pan for static electricity-free seeding
- Optional: Wide-weave Burlap to cover trays prior to germination
#2: Acquire the Materials
Make sure you have all the materials you need, including:
- Ingredients to make blocking mix with this recipe
- Seeds: appropriate to your season, enough quantity to fill one tray per variety

#3: Select Your Planting Workspace & Seedling Grow Space
Your planting workspace can be a temporary setup. You can tuck most of your tools and supplies into your mixing bin and put that in a cabinet or under a counter.
Your seedling grow space is dependent on the seeds you’re growing. So, think about a basement or other cool spot for cool season hardy annuals, and a spare bedroom or warmer spot for your warm season annuals.
#4: Select the Proper Size Tray
Use a tray that is correctly sized to the amount of seeds you’re sowing of a specific variety, with just a little additional room for watering. Do not mix flower varieties (or even different colors of the same variety) on a single tray, because they all have different germination times and require different care.
#5: Prepare the Soil Blocking Mix
Gather the ingredients to make your blocking mix from the recipe on our website, and place that mix in the bin. Add water as directed while you stir. The desired consistency is like soggy oatmeal. Do not cover and store wet mix, let any unused mix dry out completely before storing.
#6: Make the Soil Blocks
Push the blocker down into the blocking mix 2 or 3 times to fill the chambers. Scrape the excess mix off and place the blocker on the tray, engage the plunger to eject the blocks. Only make enough blocks for the seeds you intend to sow that same day.
#7: Plant Seeds in Soil Blocks
Each block has a depression to receive the seed. Sow one seed per block according to the seed instructions. Seeds that need light to germinate are firmly placed on the surface and those that need darkness are pushed down into the block.
#8: Place Trays of Soil Blocks on Seedling Heat Mat
A seedling heat mat keeps the soil evenly warm, which improves germination success and helps prevent soil-borne diseases. Optional: Cover with wide-weave burlap to retain moisture.
#9: Water Trays Daily
Blocks should dry out between daily watering, do not allow the blocks to sit in water. Water gently from the side of the tray; do not pour water directly on blocks. After the seeds sprout, feed with a liquid organic fertilizer weekly according to fertilizer directions.
#10: Move Tray off Heat Mat, Remove Burlap & Place Tray under Light
Move the tray off the heat mat (and remove burlap) once at least 50% of the seeds have germinated. Healthy, short & stocky seedlings need 16 hours of intense light daily, so use a timer with your grow light. Adjust the light down to right above the seedlings, and then move it upward as the seedlings grow. Seedlings are ready to plant in the garden when 3”-5” tall.
So that’s my 10-step easy guide for indoor flower seed starting! You can find all of the supplies and materials available in our online shop. For more details about indoor flower seed starting my online workshop “Seed Starting Made Easy” is a great resource, one you can watch on-demand and rewatch whenever you like. I also have tons of seeding videos on YouTube channel and bunches of blog posts about it on our website. I wish you lots of flower seed starting success!
About The Author: Lisa Mason Ziegler – Is a leader in the cut-flower growing industry, author, accomplished speaker, virtual course instructor, & the owner of The Gardener’s Workshop. Click Here To Learn more!
